How to Make a Game in Roblox: From First Idea to a Playable Game
Making a game in Roblox is not about learning every Studio tool first. It is about choosing one small idea, building a playable version of it, and publishing that — then improving it from real play.

In this guide
Step 1: Pick One Core Loop, Not One Big Dream Step 2: Set Up Roblox Studio Step 3: Build the Arena — Parts, Spawn and a Finish Line Step 4: Add One Script That Makes It a Game Step 5: Test Like a Stranger, Then Fix the Confusing Parts Step 6: Publish It, Then Make It Public When It Is Ready A Realistic First-Week Plan Common Mistakes That Kill First Games Frequently Asked Questions Do I need to know coding before I make a game in Roblox? Is Roblox Studio really free, including publishing? Can I make a Roblox game on my phone? Related Guides on RBXMods SourcesEvery popular game started the same way: one person, one small idea, and a first version far simpler than the finished game. The mistake most beginners make is building their dream game first — a huge world, dozens of systems — and giving up when it takes months. This guide takes the opposite route: pick one simple idea, build a small playable game in Roblox Studio, add a single script, test it with real players, and publish it.
Key takeaways
- A game is a core loop — one thing players do again and again — not a giant world. Pick one loop and finish it.
- Roblox Studio is free for Windows and Mac. You build in Studio, test with the Play button, and publish from Studio to the Creator Dashboard.
- Your first game needs only one working script. Everything else can be built from parts, colours and terrain.
- Publish early and stay private first: let friends test, fix the confusing parts, and only then make it public.
Step 1: Pick One Core Loop, Not One Big Dream
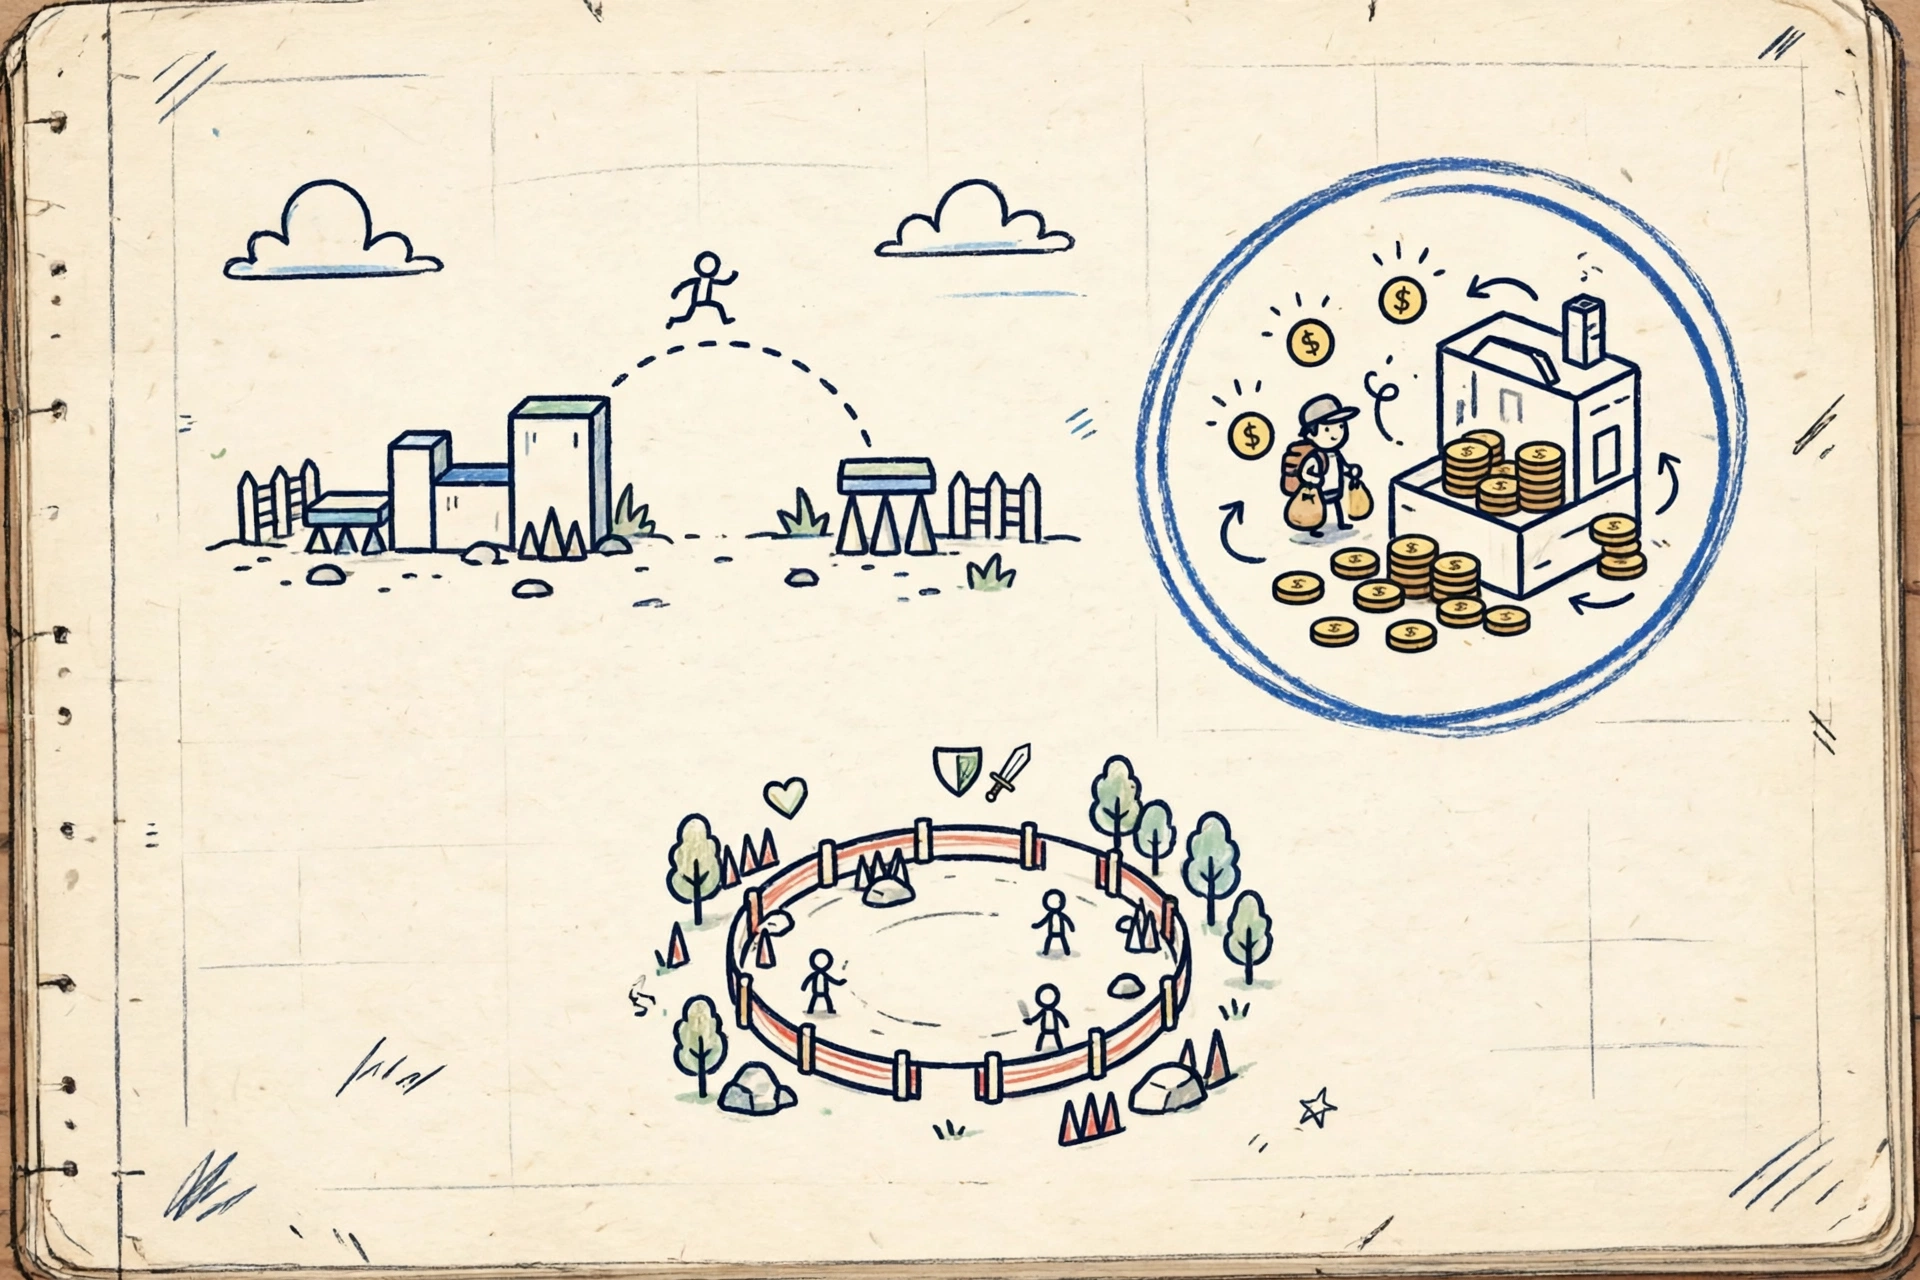
A core loop is the action a player repeats: jump through a course, collect coins and buy upgrades, survive rounds, or build and show off. If you cannot describe your game in one sentence — "jump across platforms to reach the finish" — the idea is still too big. Cut it until it fits in one sentence, then build only that.
| First game idea | The core loop | What you learn |
|---|---|---|
| A short obby | Jump stages, avoid hazards, reach the finish | Parts, spawn points, kill bricks, checkpoints |
| A coin-collect game | Touch coins, score points, buy a speed boost | Scripts, leaderboards, simple shop logic |
| A tiny tycoon | Earn money, buy machines, earn faster | Buttons, saving data, upgrades |
| A survival round game | Survive timed rounds in an arena | Timers, rounds, player respawning |
For this guide, follow the coin-collect idea: a small arena, coins scattered around it, a scoreboard, and a finish goal. It is small enough to finish in a few sessions and contains every piece a bigger game needs. If you would rather build an obby, the same steps apply — our first obby guide covers that version stage by stage.
Step 2: Set Up Roblox Studio
Roblox Studio is the free program you build games in, for Windows and Mac — not a website, and not something you can build properly with on a phone or tablet. Roblox's setup documentation lists minimum requirements of Windows 10 or macOS 10.14 with 3 GB of memory, and recommends Windows 11 or macOS 14 or later with 8 GB and a screen of at least 1600 by 900. A small game runs fine on modest hardware.
- Create a free Roblox account, or sign in with the account you already play on. Games you publish belong to that account, so use your main account from the start.
- Download Studio from the Creator Hub, run the installer (RobloxStudio.exe on Windows, RobloxStudio.dmg on Mac), click Launch Studio, and sign in.
- Open the Baseplate template: a flat plate, a spawn point, sky and lighting — a perfect empty arena.
- Press Ctrl+S and save straight away, then keep saving every few minutes. Also publish early (Step 6) so a computer problem cannot wipe out your work.
If the interface looks overwhelming, ignore most of it. You need four things for now: the Viewport (the 3D window), the Explorer (everything in your game), Properties (settings of whatever you selected), and the Play button — all explained in our Studio beginner roadmap.
Step 3: Build the Arena — Parts, Spawn and a Finish Line
Build the whole world before writing any code, so your script later has something real to work with. A coin-collect arena needs only a handful of objects.
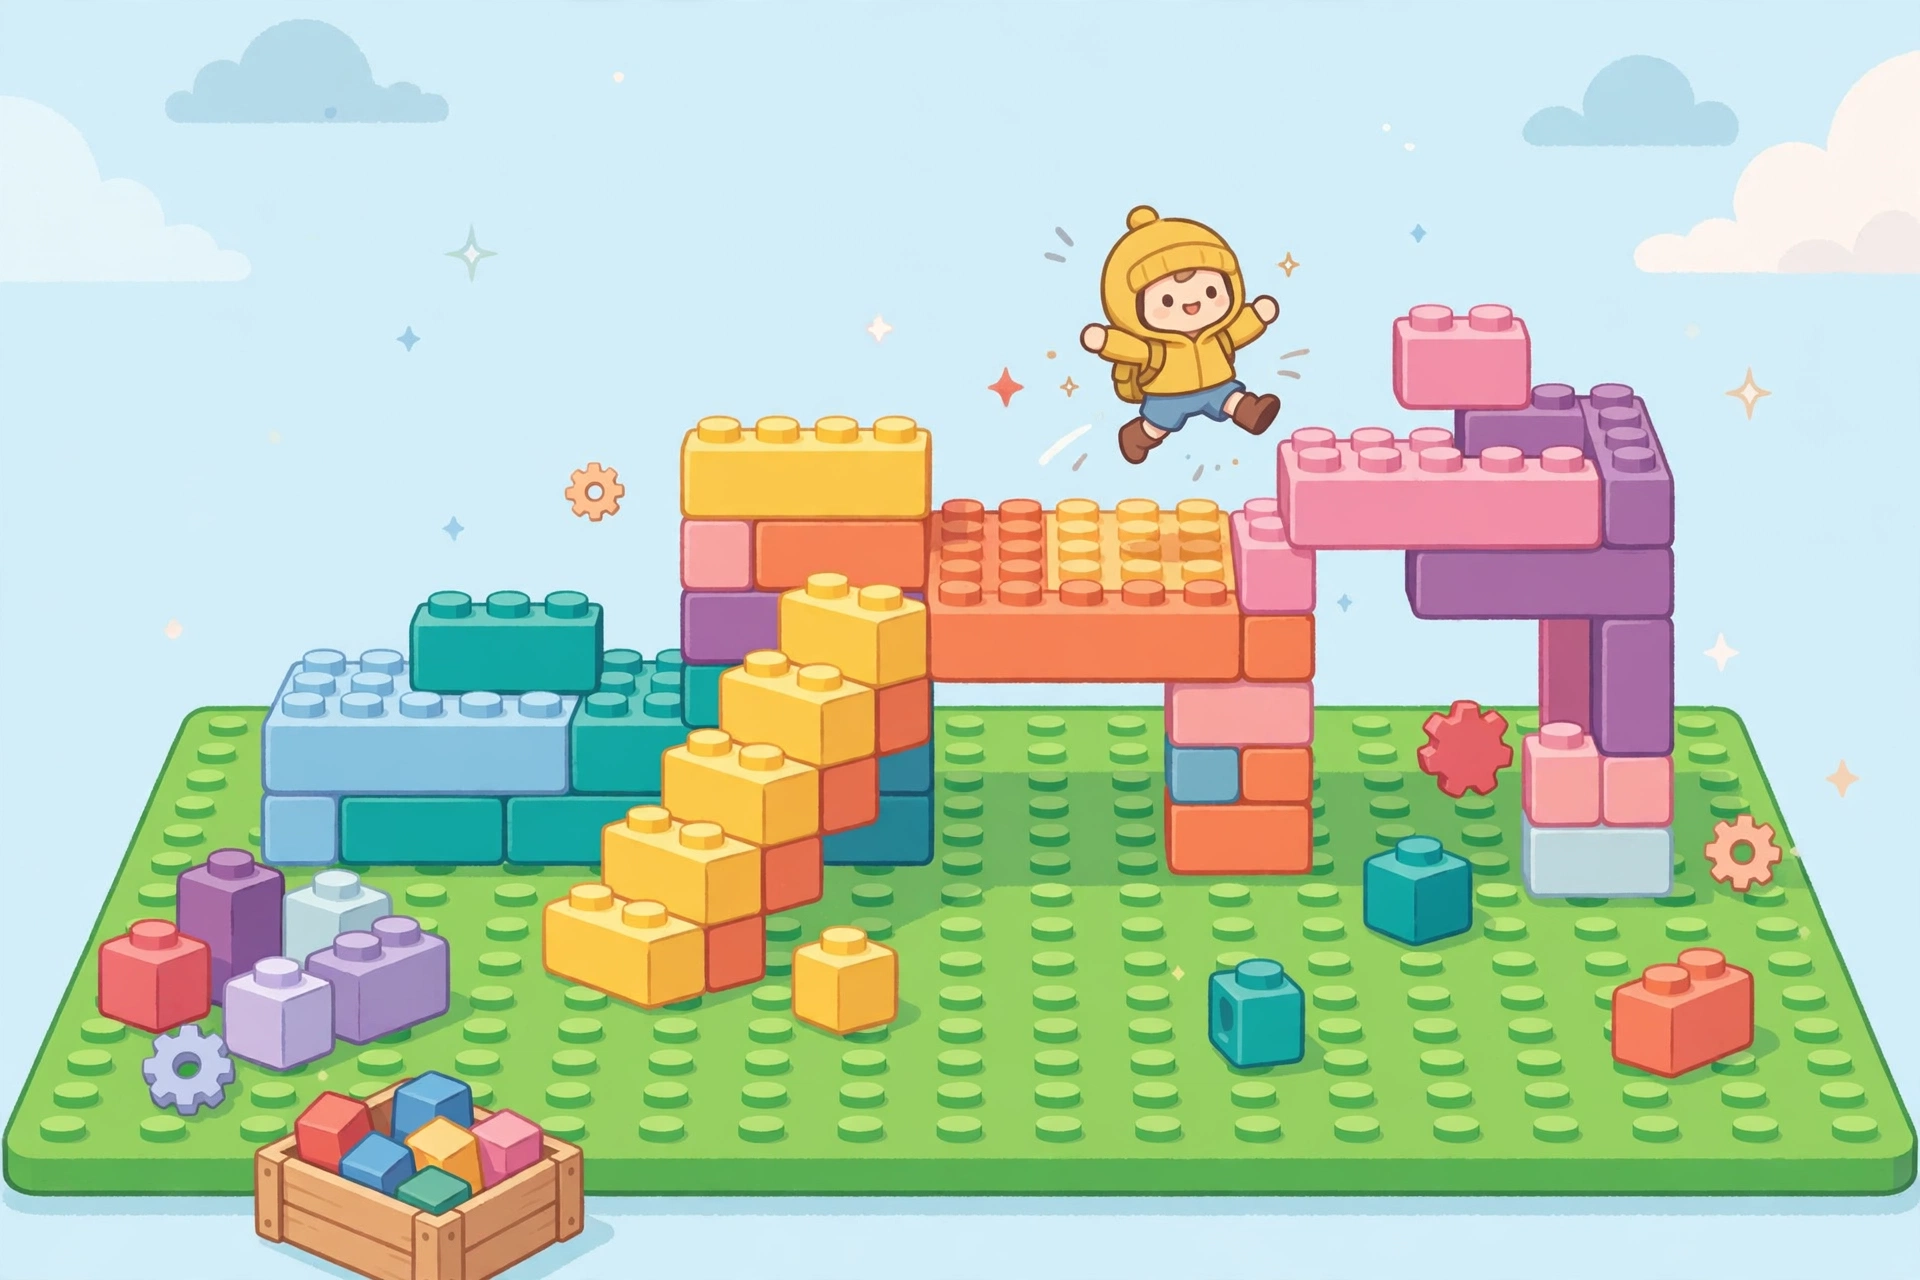
- Mark the arena. Lay out a play area roughly 60 by 60 studs with a low wall around the edge. Keep it small enough to see from the spawn.
- Check the spawn. The Baseplate template includes a SpawnLocation. Click it in the Explorer and check Anchored is on and Neutral is ticked, so any player can use it.
- Make it interesting to move through. Add low platforms, ramps (wedge parts) and a bridge, keeping every jump easy — the fun here is collecting, not precision jumping.
- Anchor everything static. Select your building parts and tick Anchored. An unanchored part falls through the world the moment you press Play — the single most common beginner bug.
- Add the coins. Insert small cylinder or sphere parts, colour them gold, set Material to Neon, and name them all "Coin". Scatter 15 to 20 around the arena, some on platforms.
- Add a finish goal. A tall gold pad or arch at one end, named "FinishPad".
Press Play (F5) and run around. Can you reach every coin? Does anything fall or block the spawn? Fix those problems now, while the game is still tiny.
Step 4: Add One Script That Makes It a Game
A world without rules is a playground, not a game. One script turns your arena into a game: when a player touches a coin, the coin disappears and the player scores a point. This is a server Script, because scores must count for everyone — a LocalScript changing a score on one player's device would not be trusted by the server.
Put this Script inside ServerScriptService (hover over it in the Explorer, click +, choose Script):
local Players = game:GetService("Players")

local function givePoint(player)
	local leaderstats = player:FindFirstChild("leaderstats")
	if not leaderstats then
		leaderstats = Instance.new("Folder")
		leaderstats.Name = "leaderstats"
		leaderstats.Parent = player
		local coins = Instance.new("IntValue")
		coins.Name = "Coins"
		coins.Parent = leaderstats
	end
	leaderstats.Coins.Value = leaderstats.Coins.Value + 1
end

for _, coin in ipairs(workspace:GetDescendants()) do
	if coin.Name == "Coin" then
		coin.Touched:Connect(function(hit)
			local player = Players:GetPlayerFromCharacter(hit.Parent)
			if player then
				givePoint(player)
				coin:Destroy()
			end
		end)
	end
end
In plain language: it creates a "Coins" score for each player, then every coin watches for a touch. When a player's character touches a coin, the server adds one point and removes the coin. Press Play and collect coins — your score should rise in the leaderboard. If nothing happens, open the Output window (View tab, then Output): it names the script and the line, and our guide to reading script errors decodes the common ones. This is the pattern behind shops and quests: an event, a check, and a server-side change.
Step 5: Test Like a Stranger, Then Fix the Confusing Parts
Your own testing is biased — you know where every coin is. Test the way real players will play:
- Test on a phone-sized screen. Use Test, then Devices, and play the whole arena. Most players are on mobile; if a coin needs precise keyboard jumping, move it.
- Watch a friend play without explaining anything. Note the exact moment they hesitate or look lost. That moment is your to-do list: add a sign, move a coin into view, or make the goal more obvious.
- Test with two players. Run a local test with two fake players (Test tab, then Players) and confirm one player's coins do not give points to the other.
Fix only the two or three worst problems you found, then test again. Repeat — build a little, test, fix — and the game gets steadily better without ever becoming a rewrite.
Step 6: Publish It, Then Make It Public When It Is Ready
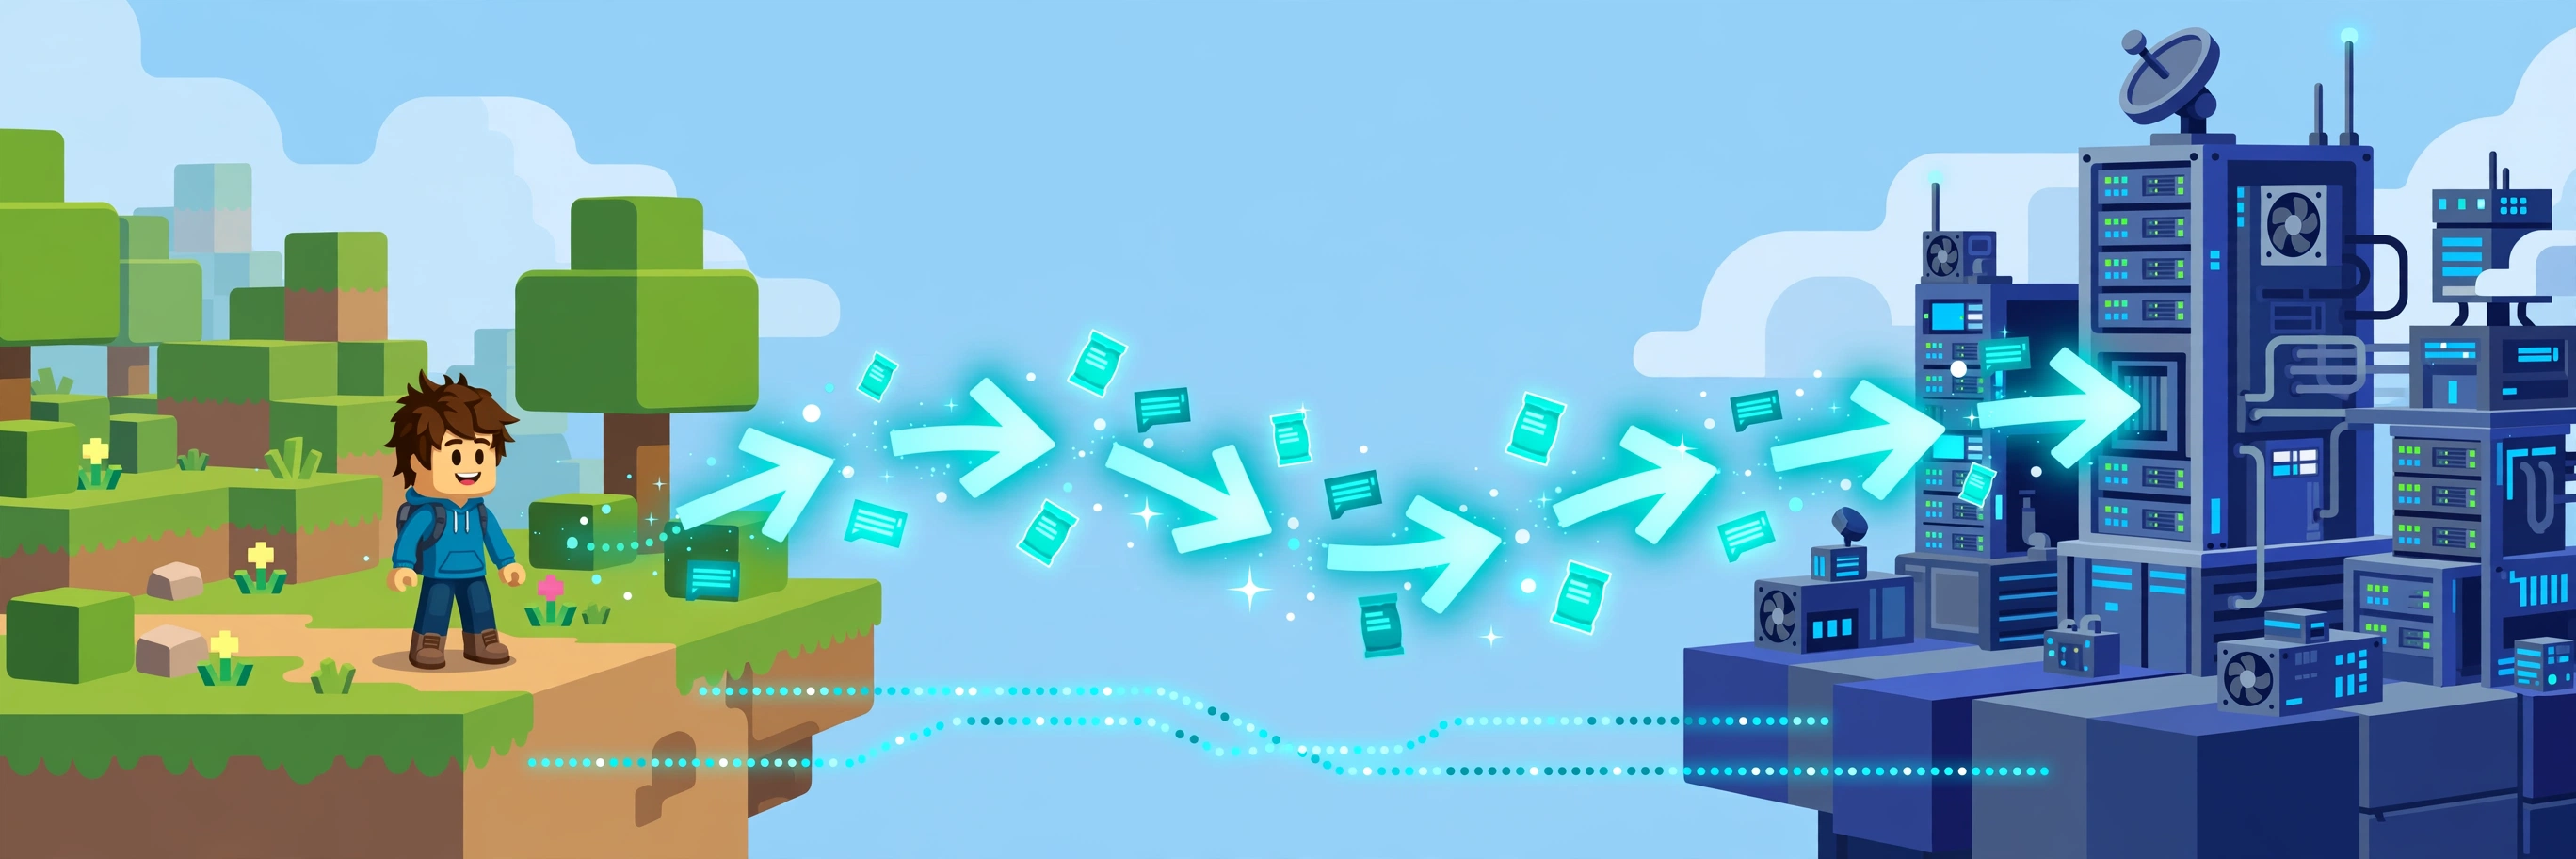
Saving and publishing are different actions, and beginners confuse them constantly. File, then Save to File (Ctrl+S) keeps a copy on your own computer. File, then Publish to Roblox uploads the game to Roblox's servers under your account, so you can open it anywhere and, when ready, let other people in. Publishing does not automatically make the game public.
- In Studio, choose File, then Publish to Roblox, with a clear name and a short, honest description of what you do in the game.
- Open the Creator Dashboard, find the game under Creations, and set a readable icon, the best-fitting genre, and the content maturity questionnaire, which sets the age rating. Answer it honestly.
- New games are private by default; keep yours private while friends test it, and go public only when a stranger can play for five minutes without asking what to do.
- Play the live game yourself after going public; publishing can reveal issues Studio testing hid.
Publishing rules change from time to time, so follow any eligibility notice the Dashboard shows. Our publishing and icon guide covers icons and thumbnails in more detail.
A Realistic First-Week Plan
A steady week beats a frantic weekend: day one, pick the loop; days two and three, build the arena; day four, add the coin script; day five, test with a friend; day six, publish privately; day seven, fix and go public.
Common Mistakes That Kill First Games
- Starting with the biggest idea. A 100-area world as a first project almost always ends abandoned. Tiny and finished beats big and abandoned.
- Forgetting to anchor parts. If half your arena falls on Play, select the building parts and anchor them together.
Frequently Asked Questions
Do I need to know coding before I make a game in Roblox?
No. Building, terrain and design need no code, and the coin script in this guide is a complete first script you can adapt. Learn Lua in small pieces — variables, events, the Touched event — by adding them to a game you can already play.
Is Roblox Studio really free, including publishing?
Yes. Studio is free for Windows and Mac, and publishing a game costs nothing. You only spend if you choose to, for example on advertising or Creator Store items.
Can I make a Roblox game on my phone?
Not properly. Studio is a Windows and Mac program, and building needs a keyboard and mouse. On a phone you can check your Creator Dashboard and analytics, but editing the game itself must be done on a computer.
Related Guides on RBXMods
- Roblox Studio beginner roadmap — the interface and the order to learn Studio in.
- How to make your first obby — a complete obstacle course, step by step.
- Lua scripting for beginners — your first script, explained line by line.
- How to publish a game, with icon and thumbnail tips — naming, icons and going public.
RBXMods is not affiliated with or endorsed by Roblox Corporation. Roblox and the Roblox logo are trademarks of Roblox Corporation.
Sources
- Roblox Creator Documentation: Roblox Studio setup — Studio is free for Windows and Mac, with minimum and recommended system requirements and installation steps.
- Roblox Creator Documentation: Start learning with tutorials — official tutorials for games, avatars and avatar items, including "Create your first game".
- Roblox Creator Dashboard — where creators manage experiences under Creations after publishing from Studio.