Roblox UI Particles Explained: Native 2D Particle Effects Come to Studio (Beta)
Roblox has added native 2D particle effects to UI in a Studio beta. ParticleEmitter2D attaches to any GuiObject — here is how to enable it, what it can do, and why you still cannot ship it in a live game.

In this guide
What Roblox UI Particles Are How to Turn On the UI Particles Beta What the Emitter Can Do A First Effect in Five Steps: A Confetti Burst on a Button The Three Limits to Know Before You Build What You Still Cannot Do With UI Particles Where UI Particles Fit in Your Game Frequently Asked Questions What is ParticleEmitter2D in Roblox? How do I enable UI Particles in Roblox Studio? Can I publish a game that uses ParticleEmitter2D? How is ParticleEmitter2D different from the 3D ParticleEmitter? What are the known limitations of UI Particles? Do I still need an ImageLabel particle module? Related Guides on RBXMods SourcesOn Friday, November 20, 2026, Roblox put native particle effects for UI into a Studio beta. The new class is called ParticleEmitter2D, and it attaches to any GuiObject — a Frame, an ImageLabel, a TextButton — and emits 2D particles straight from the interface element. Sparkles on a shop button, embers drifting off a loading bar, or a confetti burst when a player levels up will no longer need a script that moves dozens of ImageLabels around every frame once the feature ships to the client. The engine will do the work then.
Key takeaways
- Roblox UI Particles entered a Studio beta on Friday, November 20, 2026, as the new ParticleEmitter2D class. It attaches to any GuiObject inside a ScreenGui, SurfaceGui or BillboardGui.
- Enable it in Studio under File > Beta Features > UI Particles, then restart Studio when prompted. A sample place file is attached to the announcement.
- The emitter has 31 properties, most of them familiar from the 3D ParticleEmitter: emission shape, speed, drag, colour and size over lifetime, flipbook spritesheets, and one-off bursts with Emit().
- You cannot publish a live game that uses ParticleEmitter2D while the beta runs. It will work in-game once Roblox releases the feature to the client, and no release date has been given.
- Three limits are stated in the announcement: particles are not clipped in 3D space, Styling is not supported yet, and particles vanish suddenly when their GuiObject is culled.
What Roblox UI Particles Are
UI Particles are a native 2D particle system for Roblox interfaces. The class is ParticleEmitter2D, and the Creator Docs describe it as a special object that emits customisable 2D particles from a GuiObject. It sits under any GuiObject — a Frame, an ImageLabel, a TextButton, or any other interface element — inside a ScreenGui, a SurfaceGui or a BillboardGui, and its particles draw above the parent's strokes and inset shadows.
That placement is the point. Before this beta, the common approaches for a sparkle trail or a coin splash on a screen were workarounds: a community module animating a pool of ImageLabels through Luau, a frame-by-frame spritesheet flipbook, a physical 3D part parked near a viewport camera, or a custom scripted UI animation. Those workarounds still work, and they are still what you should use in a live game today, because the beta class cannot be published yet. But the native class moves the animation into the engine, where it belongs, and it removes the per-frame scripting that made UI effects fragile and expensive to maintain.
The DevForum post is dated November 20, 2026, posted by Roblox Staff member missmandypanda. The beta is Studio-only for now: you can build and tune effects in Studio, but nothing that uses the class can go to players until the client release.
How to Turn On the UI Particles Beta
Turning the beta on takes under a minute, and the steps match every other Studio beta flag.
Open Beta Features. In Studio, open File > Beta Features.
Check UI Particles. Find UI Particles in the list and check the box.
Save and restart. Click Save and restart Studio when prompted. The beta settings require the restart before the class is available.
Add an emitter. Select a Frame, ImageLabel, TextButton or another GuiObject in the Explorer, and add a ParticleEmitter2D to it. The emitter's particles will render from that element.
Open the sample place. The announcement attaches a sample place file, pe2d-forum.rbxlx (34.7 KB), with working setups to study. Download it from the announcement thread and open it in Studio to see the emitter configured in context. The announcement itself also walks through two examples: a coin effect, and particles bursting across a reward banner.
What the Emitter Can Do
The ParticleEmitter2D API reference lists 31 properties, and if you have set up a 3D ParticleEmitter before, most of them will feel familiar. The class is deliberately close to its 3D sibling, so the learning curve is short — but the units are 2D, and a few details will catch you out if you assume the 3D behaviour carries over unchanged.
Emission and motion. EmissionMode is either Point or BoundingBox. EmissionOffset and EmissionSpread move and resize the emission region relative to the parent. EmissionAngle sets the base direction and SpreadAngle sets the range in degrees around it. Speed is measured in offset units per second, Acceleration takes a Vector2, and Drag slows particles down over their life. TimeScale accepts values from 0 to 1, so you can put an effect into slow motion or freeze it completely — useful for a pause menu where the interface should hold still.
Appearance over a particle's life. Color, Transparency, Size and Squash can all change over a particle's life. One detail that will catch people out is that Size values are half of the rendered particle size, so a Size of 10 renders a 20-unit particle. Rotation is in degrees, RotSpeed is in degrees per second, and a positive RotSpeed spins clockwise. Blend is 0 for normal blending and 1 for additive blending. LightInfluence only applies when the parent renders in the 3D world, such as a SurfaceGui or a BillboardGui without AlwaysOnTop, and Brightness takes effect when LightInfluence is 0.
Flipbooks and bursts. Spritesheet flipbooks have four modes: Loop, OneShot, PingPong and Random. FlipbookFramerate sets the speed in frames per second, FlipbookSizeX and FlipbookSizeY set the grid when the layout is Custom, and two toggles control random starting frames and crossfading between frames. Continuous effects run on Enabled and Rate. For a one-off burst you call Emit(), which defaults to 16 particles. Setting Enabled to false stops new particles, but the ones already on screen stay until they expire or you call Clear().
A First Effect in Five Steps: A Confetti Burst on a Button
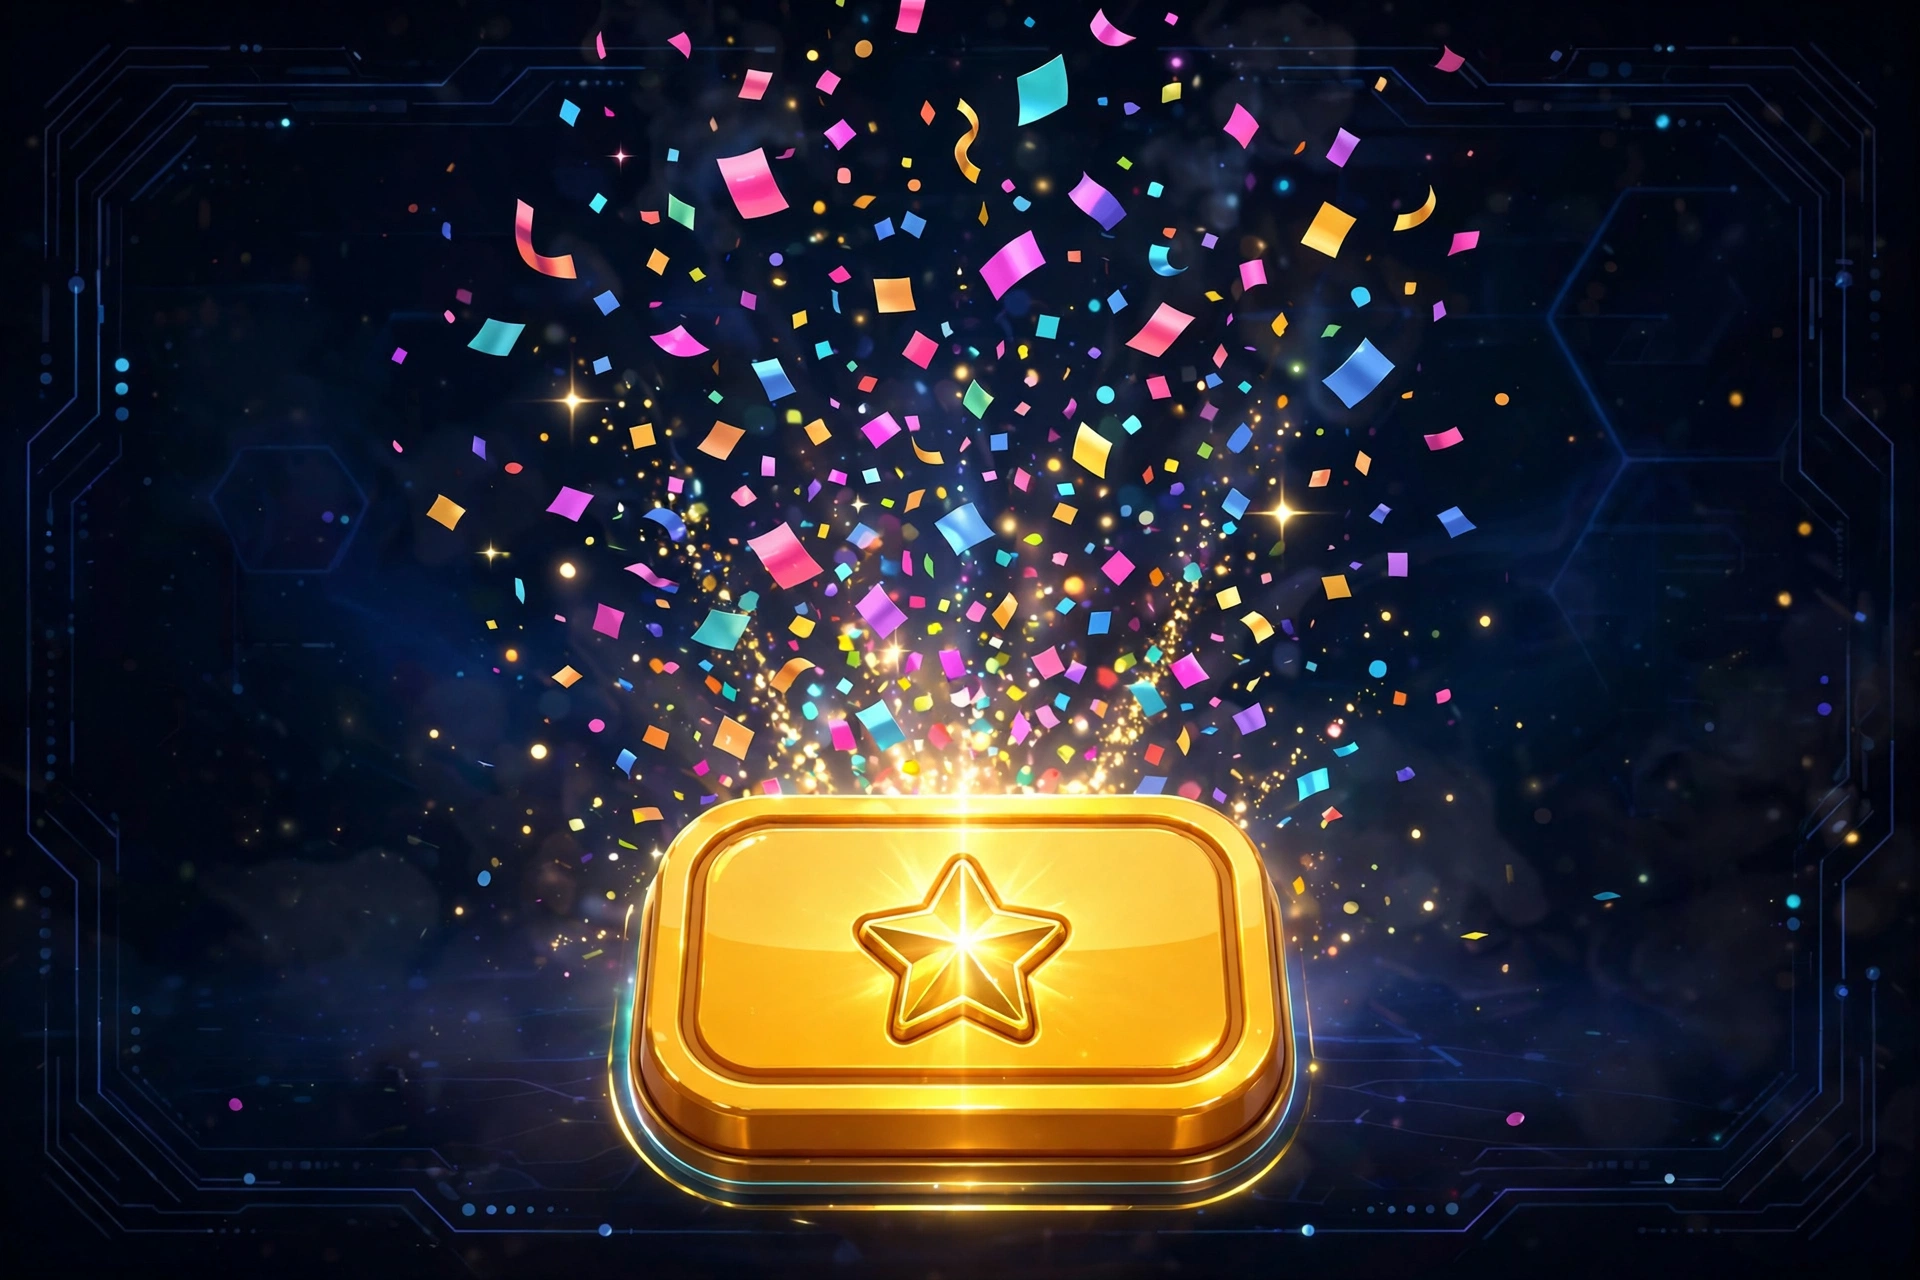
The fastest way to learn the class is a one-off burst on a button — the kind of effect that used to take a whole ImageLabel pool. Here is a level-up button example, end to end.
1. Add the emitter to the button. Select your TextButton in the Explorer and add a ParticleEmitter2D to it. The emitter inherits the button as its parent, so the burst will come from the button itself.
2. Set the texture and shape. Give the emitter a small particle texture via its TextureContent property, set EmissionMode to BoundingBox, and set EmissionSpread to cover the button's area. That way the burst comes from across the button, not from a single point.
3. Turn continuous emission off. Set Enabled to false. You do not want a constant stream for a one-off celebration — you want silence until the moment it fires. (Emit() works while Enabled is false, so there is no need to also set Rate to 0.)
4. Fire it from a script. A short LocalScript under the button calls Emit() when the button is activated:
local button = script.Parent
local emitter = button:FindFirstChildOfClass("ParticleEmitter2D")

button.Activated:Connect(function()
	emitter:Emit(24)
end)
5. Tune the feel. Adjust Lifetime so particles do not linger, Speed so the burst reads as a pop rather than a drift, and Squash or Rotation if the particles look flat. Because the emitter is native, you can tune these properties in Studio and see the result immediately, without touching the script again.
That loop — set properties, playtest, tune — is the whole workflow the beta is built for. The script stays tiny, and the effect lives in the emitter's properties, where a teammate can read it without opening code.
The Three Limits to Know Before You Build
The announcement lists three known limitations, and each one changes what you should attempt with the beta.
Particles are not clipped in 3D space. On a SurfaceGui or a BillboardGui, particles can spill past the edges of their parent, because clipping does not apply in 3D space. An effect on an in-world screen — a shop sign, a quest board — can overflow its frame. Keep in-world effects small and centred, or test them on a ScreenGui first, where the behaviour is what you would expect.
Styling is not currently supported. The UI styling system does not yet apply to particles. If your interface relies on styles for its look, the particle effect will not follow them, so plan the effect's colours and sizes by hand rather than expecting them to inherit.
Culled GuiObjects drop their particles suddenly. When a GuiObject gets culled, its particles disappear off screen abruptly instead of fading out. An effect attached to an element that scrolls in and out of view — a list item, a tab that hides — can pop out of existence mid-burst. Attach long-lived effects to elements that stay on screen, and keep bursts short on elements that move.
What You Still Cannot Do With UI Particles
The biggest limit is not a property — it is the beta itself. During the Studio beta period, you cannot publish live games with ParticleEmitter2D. The announcement is explicit: once Roblox releases the feature to the client, it will be available to use in-game, but no release date is given. If you need UI particles in a live game this month, stay on your current module or workaround until the client release, because anything built with the beta class cannot be published before then.
There are two more honest unknowns. The Creator Docs do not currently list performance figures or particle caps for the class, so nobody knows yet how much it saves compared with an ImageLabel pool — do not assume a native emitter is free, and profile a real game before layering several emitters onto one screen. And because the class is in beta, its API can still change; an effect you build today may need a small update when the client release lands. Build with the beta to learn it, and treat anything you ship on it as provisional until the release notes say otherwise.
Where UI Particles Fit in Your Game
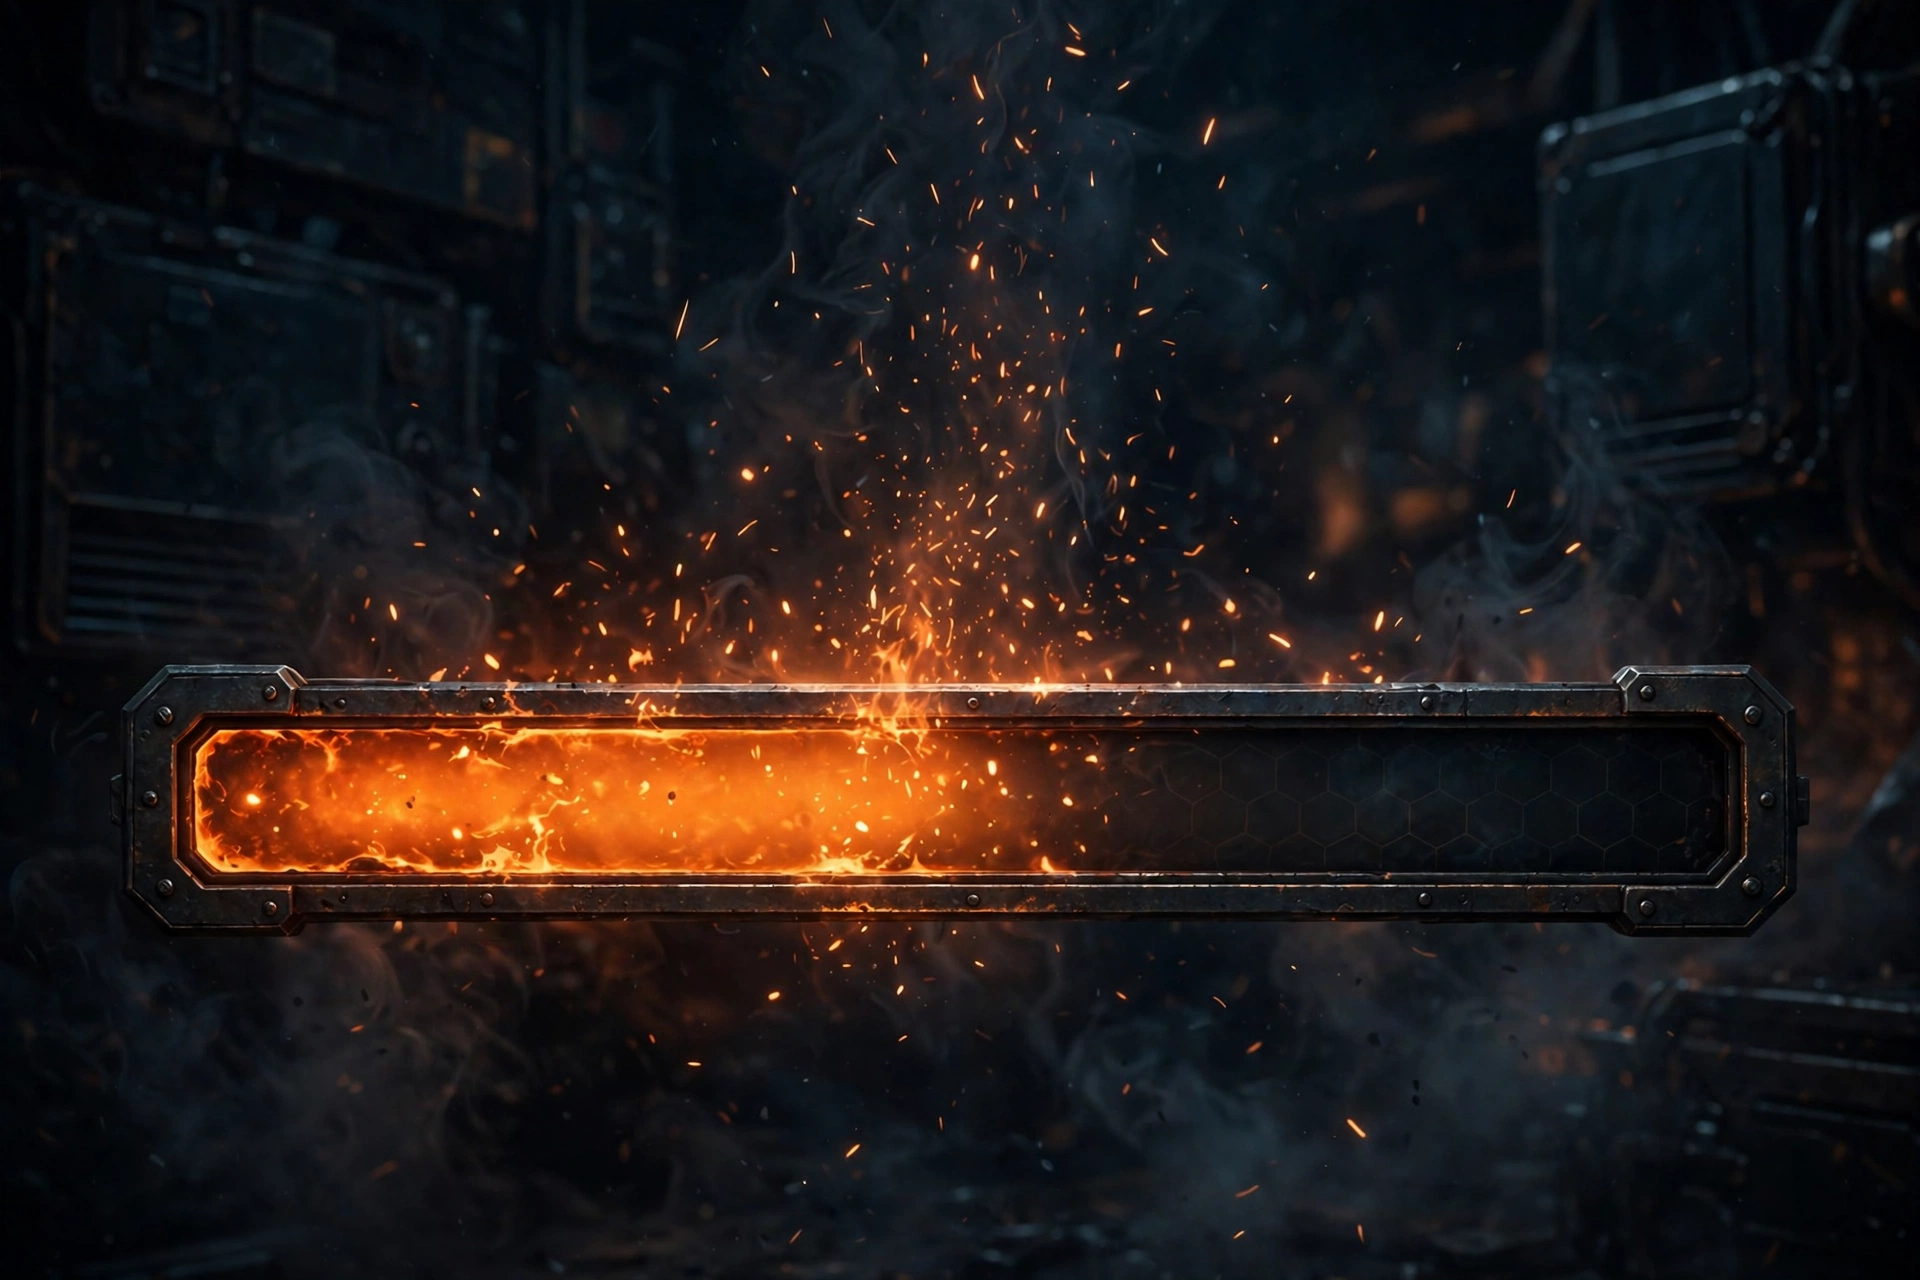
Three places are the obvious first wins, and all three are the examples Roblox itself shows. A shop button that sparkles when a sale starts. A loading bar with embers drifting off it while the game loads. A confetti burst on a level-up screen, fired once with Emit() when the reward lands.
Beyond those, the class is a natural fit for anything that should feel alive without gameplay behind it: a coin splash when a purchase completes, ambient sparkles on a main menu, a hit-feedback burst on a damage number. The rule of thumb is simple — if the effect belongs to the interface and not to the world, it probably belongs on a ParticleEmitter2D. If it belongs to the world — an explosion, a trail behind a character — the 3D ParticleEmitter you already know is still the right tool.
Frequently Asked Questions
What is ParticleEmitter2D in Roblox?
ParticleEmitter2D is a new class in a Studio beta, announced November 20, 2026. It is a native 2D particle system that attaches to any GuiObject — a Frame, ImageLabel or TextButton — and emits customisable particles from that interface element, inside a ScreenGui, SurfaceGui or BillboardGui.
How do I enable UI Particles in Roblox Studio?
Open File > Beta Features in Studio, check UI Particles, click Save, and restart Studio when prompted. Then add a ParticleEmitter2D to any GuiObject. The announcement also attaches a sample place file, pe2d-forum.rbxlx, with working setups.
Can I publish a game that uses ParticleEmitter2D?
Not during the beta. Roblox states that during the Studio beta period you cannot publish live games with ParticleEmitter2D. It will work in-game once the feature is released to the client, and no release date has been given.
How is ParticleEmitter2D different from the 3D ParticleEmitter?
The 3D ParticleEmitter emits particles in the game world from a part or attachment. ParticleEmitter2D emits particles in 2D from a GuiObject, so the effect lives on the interface itself — a button, a bar, a menu — instead of in the world. Most of its 31 properties will feel familiar if you have used the 3D version.
What are the known limitations of UI Particles?
Three are stated in the announcement: particles are not clipped in 3D space, so effects on SurfaceGui and BillboardGui can spill past their edges; Styling is not currently supported; and when a GuiObject gets culled, its particles disappear off screen suddenly instead of fading out.
Do I still need an ImageLabel particle module?
For a live game, yes — until the client release, the beta class cannot be published, so your existing module or workaround is still the way to ship UI particles. Use the beta in Studio to learn the class and prototype effects, then switch over when the release lands.
Related Guides on RBXMods
- Roblox Animation Graphs explained — State Machine and Luau Expression nodes, fully released November 20, 2026, the other half of this week's Studio news.
- How to use AI in Roblox Studio — Assistant, Planning Mode, the Studio MCP server and Prompt to Animation.
- Roblox MCP Open Cloud access explained — the November 4 update that lets an external AI client call Open Cloud from Studio.
- How to test teleports in Roblox Studio — the November 6 change that lets you test TeleportAsync in Test and Team Test modes without publishing.
- How to make a game in Roblox — from first idea to a playable game, including the UI and polish steps where particles belong.
RBXMods is not affiliated with or endorsed by Roblox Corporation. Roblox and the Roblox logo are trademarks of Roblox Corporation.
Sources
Last checked against Roblox sources: November 21, 2026.
- Roblox Developer Forum: [Studio Beta] UI Particles — posted November 20, 2026 by missmandypanda (Roblox Staff): the beta, the File > Beta Features flag, the publishing restriction, the three limitations, and the sample place file. (Verified loading in the live browser 2026-11-21.)
- Roblox Creator Docs: 2D particle emitters — the official guide for the new class. (Verified loading in the live browser 2026-11-21.)
- Roblox Creator Docs: ParticleEmitter2D class reference — 31 properties, described as a special object that emits customisable 2D particles from a GuiObject. (Verified loading in the live browser 2026-11-21.)
- Mirage Portal: UI Particles enters Studio Beta — independent summary, published November 20, 2026: the property-by-property breakdown and the beta workflow. (Verified loading 2026-11-21.)