How to Make a Shirt on Roblox: Classic Clothing, Template and Upload
A classic Roblox shirt is a flat image wrapped around the avatar — one template, one export, one upload. Here is the full 2026 workflow, including the real fees and the rules that get uploads rejected.

In this guide
Shirt, T-Shirt and Pants: Which One Are You Making? What You Need Before You Start Step 1: Download the Official Shirt Template Step 2: Design Your Shirt on the Template Step 3: Export a PNG at Exactly 585×559 Step 4: Test It in Studio for Free Step 5: Upload Through the Creator Dashboard Step 6: Set a Price and Put It on Sale Why Uploads Get Rejected (and How to Avoid It) Frequently Asked Questions How much does it cost to make a shirt on Roblox? Do I need Roblox Premium to sell a shirt? What size is the Roblox shirt template? Can I make a shirt on my phone? What is the difference between a Shirt and a T-Shirt on Roblox? How long does moderation take? Related Guides on RBXMods SourcesEvery shirt you see on a Roblox avatar started the same way: as a flat picture drawn on a template, then wrapped around the character's body. Making one needs no 3D software, no scripting and no Studio experience — just an image editor, Roblox's official template, and a small fee when you upload. This guide walks through the whole workflow for a classic shirt: downloading the official 585×559 template, designing on it, exporting it correctly, testing it for free in Studio, uploading it through the Creator Dashboard, and putting it on sale — plus the rejection reasons that waste the upload fee.
Key takeaways
- A classic shirt is a 585×559 pixel PNG drawn on Roblox's official template — keep the canvas exactly that size and do not resize it.
- Uploading costs 80 Robux per item, and putting it on sale adds a 10 Robux publishing advance (refunded as the item sells) — the upload fee is not refunded if moderation rejects it.
- Uploading needs ID verification or a linked parent account; selling also needs 2-step verification and an active Plus or Premium subscription.
- Test in Studio for free on a block avatar before you pay anything — most wrapping mistakes are visible there in seconds.
Shirt, T-Shirt and Pants: Which One Are You Making?
Roblox sells three kinds of classic 2D clothing, and they are not interchangeable. A classic Shirt wraps artwork around the torso and both arms — front, back, sides and sleeves all come from your one image. A T-Shirt is much simpler: a single square image shown only on the front of the torso. Pants work like a shirt but for the legs and waist. This guide covers the classic Shirt, because it is the one with the template that trips people up; the same workflow applies to pants, with the pants template instead.
Classic clothing is different from 3D UGC accessories such as hats and hair. Those are 3D models built in software like Blender and uploaded through a different flow. A classic shirt is a flat 2D texture, which is exactly why it is the best first avatar item: you can make it with a free image editor on a phone or a computer, and you can test the result before spending any Robux. It is also a genuine way to earn Robux as a creator — the same monetisation path as game passes, which our game pass guide covers for games. How much of each sale you keep is explained in our Roblox and DevEx guide, since Roblox keeps a marketplace fee from every sale.
One honest number before you price anything: Roblox keeps a marketplace fee on every sale, so creators keep 30% of each avatar-item sale at the price floor (the share rises toward 70% at higher prices) — a 5 Robux shirt nets about 1.5 Robux. That means roughly 54 sales to recoup the 80 Robux upload fee, so price with that in mind. Our Robux and DevEx guide explains the full fee chain.
What You Need Before You Start
Four things, and it is worth checking all of them before you design anything:
- A Roblox account that can open the Creator Dashboard. The upload flow lives in the Creator Dashboard in a browser, not in the Roblox player app — on a phone, open it in Chrome or Safari.
- The official template. Download it from Roblox's Creator Docs classic clothing page, never from an image search. Copies floating around image search are often outdated or re-saved, and those are the ones that fail uploads or wrap the wrong way.
- An image editor. Free options that export PNG with transparency work fine: Photopea and Pixlr in a browser, GIMP on a computer, IbisPaint X or Canva on a phone.
- Robux and verification. As of the July 14, 2026 rules, uploading a classic shirt costs 80 Robux per item, and publishing it for sale adds a 10 Robux publishing advance, which Roblox refunds as the item sells — 90 Robux upfront in total. Uploading requires ID verification or a linked parent account whose parent is ID verified, and selling also needs 2-step verification and an active Plus or Premium subscription. Fees change from time to time, so confirm them on the upload screen before you pay — and remember the upload fee is charged per submission and is not refunded if moderation rejects the item.
One more requirement is easy to miss: the design must be yours, or something you have permission to upload. Roblox moderation rejects items with brand logos, copied designs, other people's intellectual property, or excessive text. A shirt with a real brand's logo on it will cost you the 80 Robux fee and give you nothing back.
Step 1: Download the Official Shirt Template
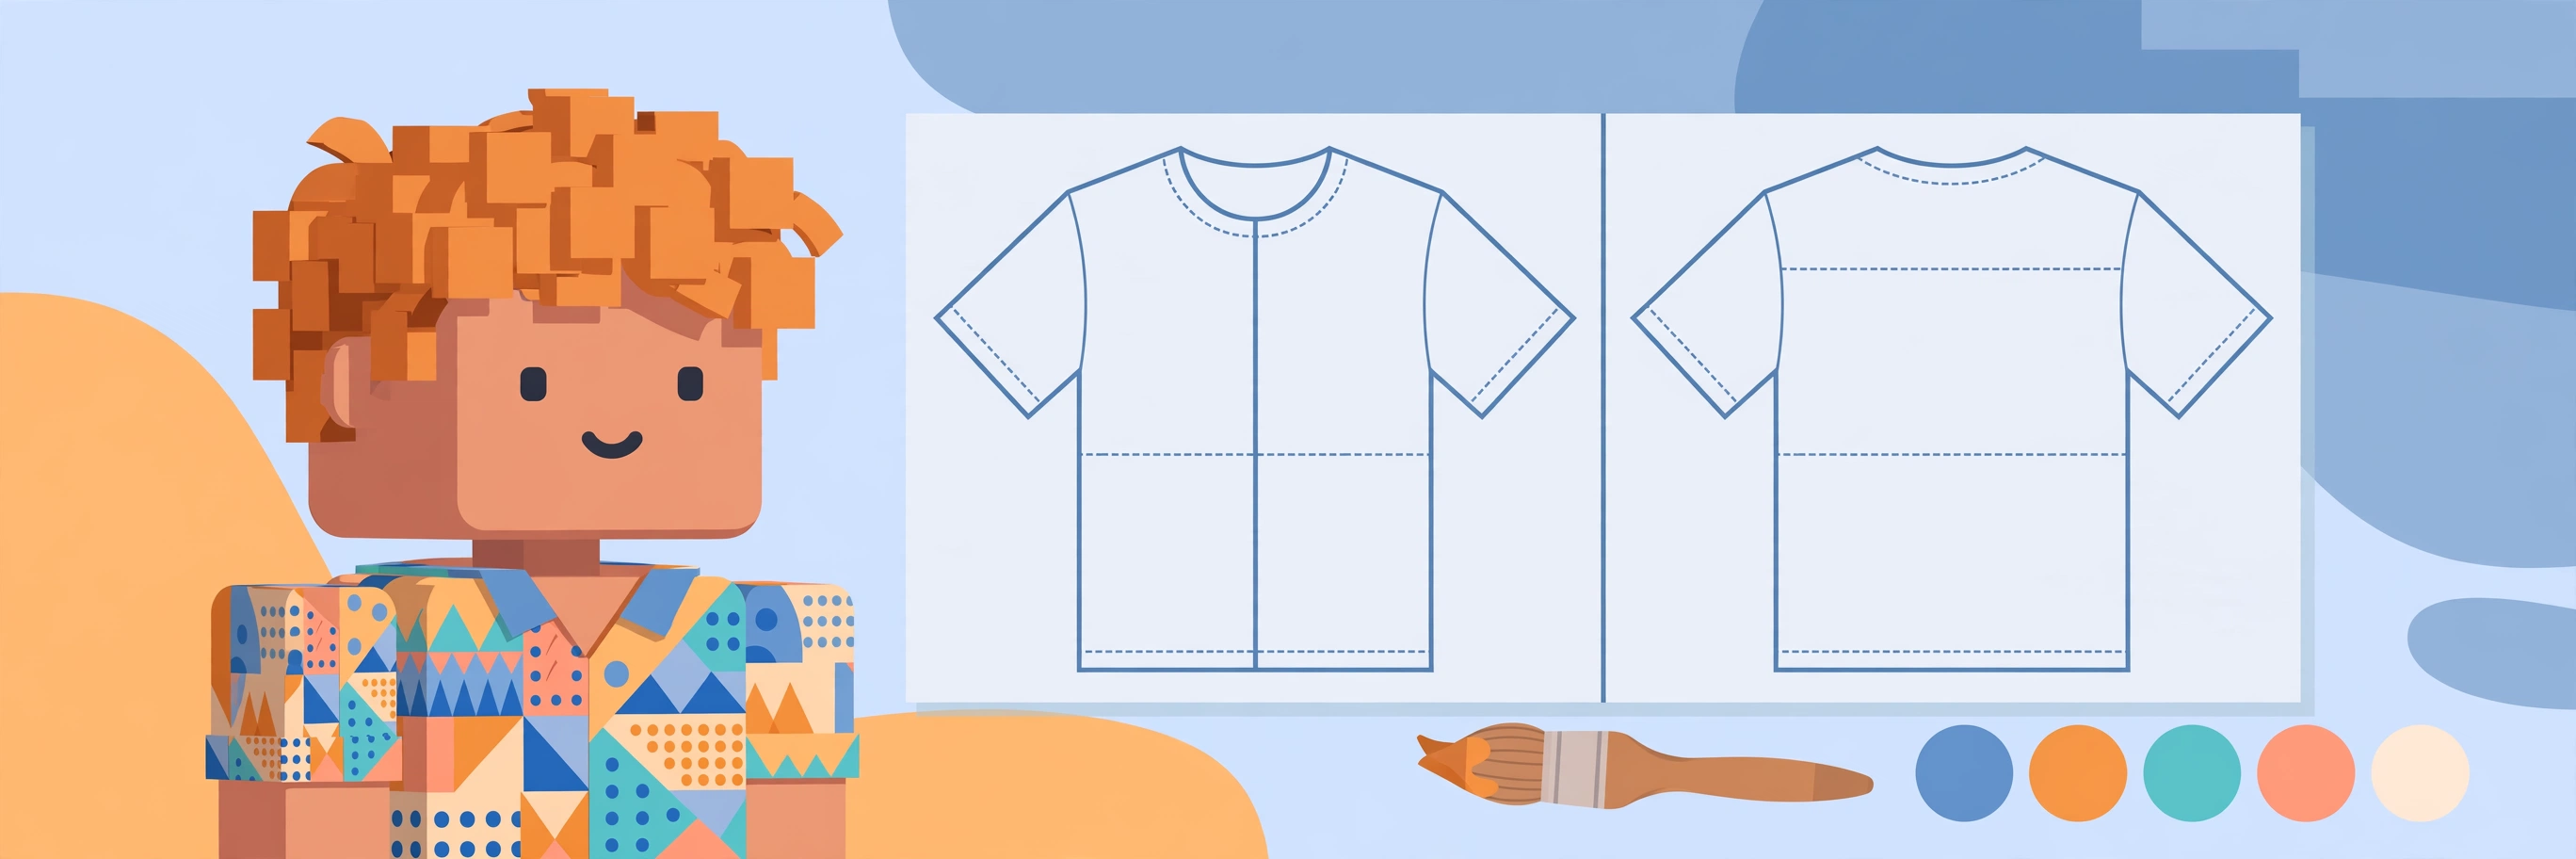
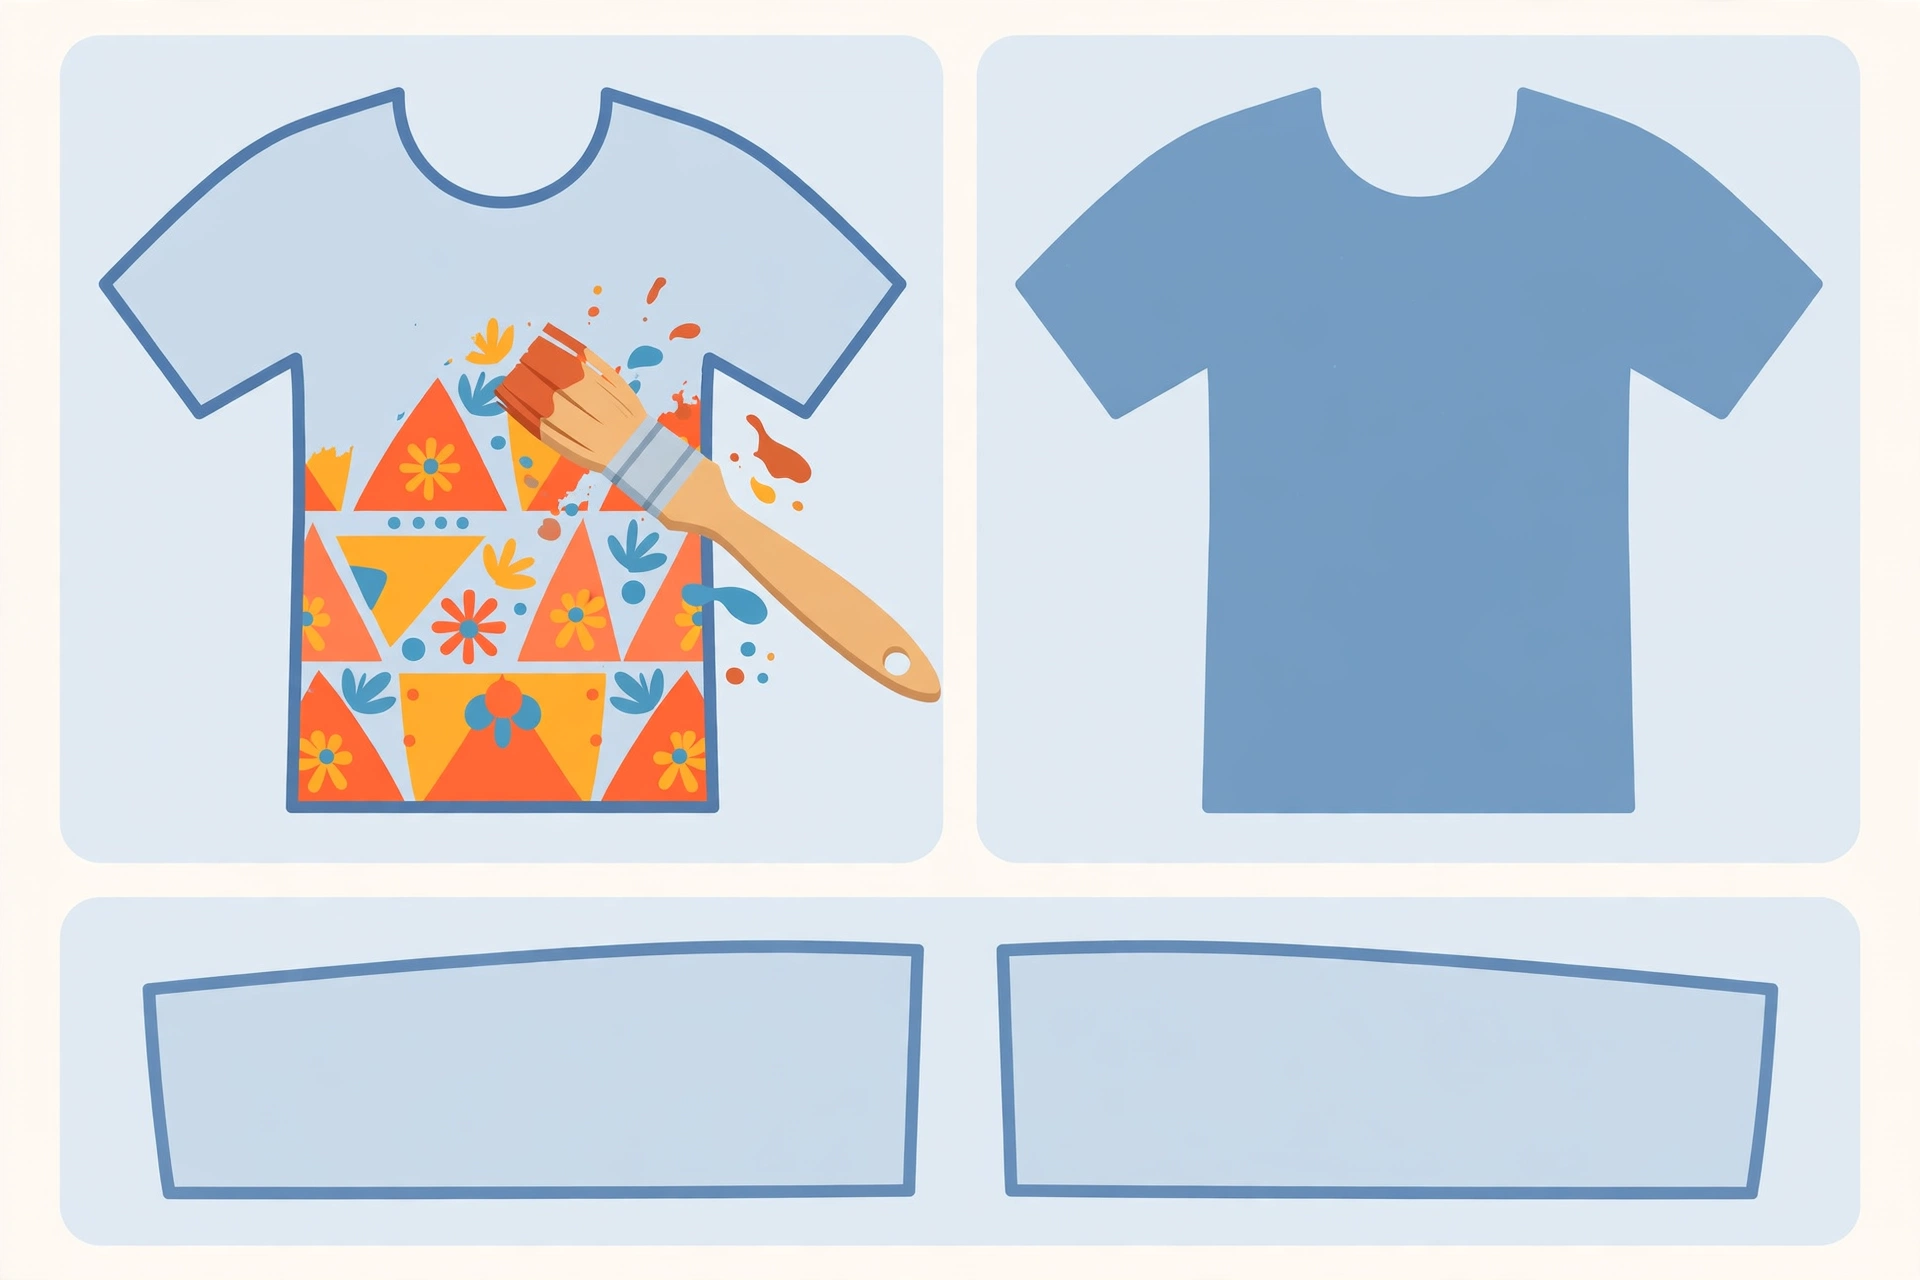
Go to Roblox's Creator Docs page for classic clothing and download the template package (Classic-Clothing-Templates.zip). Inside it are two files: Template-Shirts-R15.png and Template-Pants-R15.png. Use the shirt file as your base. The template is a 585×559 pixel PNG in landscape orientation — a flat map of the avatar's body, with labelled regions showing where each part of the image lands: the front and back of the torso are 128×128 pixel panels, the tall side and arm faces are 64×128, and the smaller top and bottom faces are 128×64 or 64×64.
Keep the template's original size. Roblox's upload system checks the dimensions precisely, so do not resize, crop or rotate the canvas at any point — a file at any other size will be rejected.
Step 2: Design Your Shirt on the Template
Open the template in your image editor and keep it on a locked reference layer, with your artwork on layers above it. Paint only inside the marked regions: whatever you draw in the front panel appears on the chest, the back panel on the back, and the arm panels on the sleeves. Treat the whole file as a map, not as one ordinary picture — a design that looks fine as a flat image can land in the wrong place on the body if it crosses a panel boundary.
A few design habits save a lot of rework:
- Keep text short and inside the front panel. Text that crosses a panel edge wraps onto the side of the body and becomes unreadable. Moderation also rejects items with excessive text.
- Leave the transparent areas transparent. The template has areas that should stay see-through — around the neck and hands, for example. If you paint over them with a solid colour, the shirt shows up as a solid block over the avatar's neck and hands.
- Use your own artwork. Original patterns, lettering and simple graphics sell; traced logos and copied characters get rejected and waste the fee.
Step 3: Export a PNG at Exactly 585×559
When the design is done, hide the template guide layer and export the file as a PNG at exactly 585 pixels wide by 559 pixels high, with transparency intact. Use PNG-24 rather than PNG-8 where your editor offers the choice, so you keep full colour depth and a clean alpha channel. Work in RGB colour mode — Roblox renders clothing on screens, so its upload system expects RGB colour data.
Before you move on, check the exported file itself: open its properties and confirm it is 585×559, and open it once more to confirm the background is transparent where it should be. This thirty-second check catches the two rejections beginners hit most — wrong dimensions and a flattened white background.
Step 4: Test It in Studio for Free
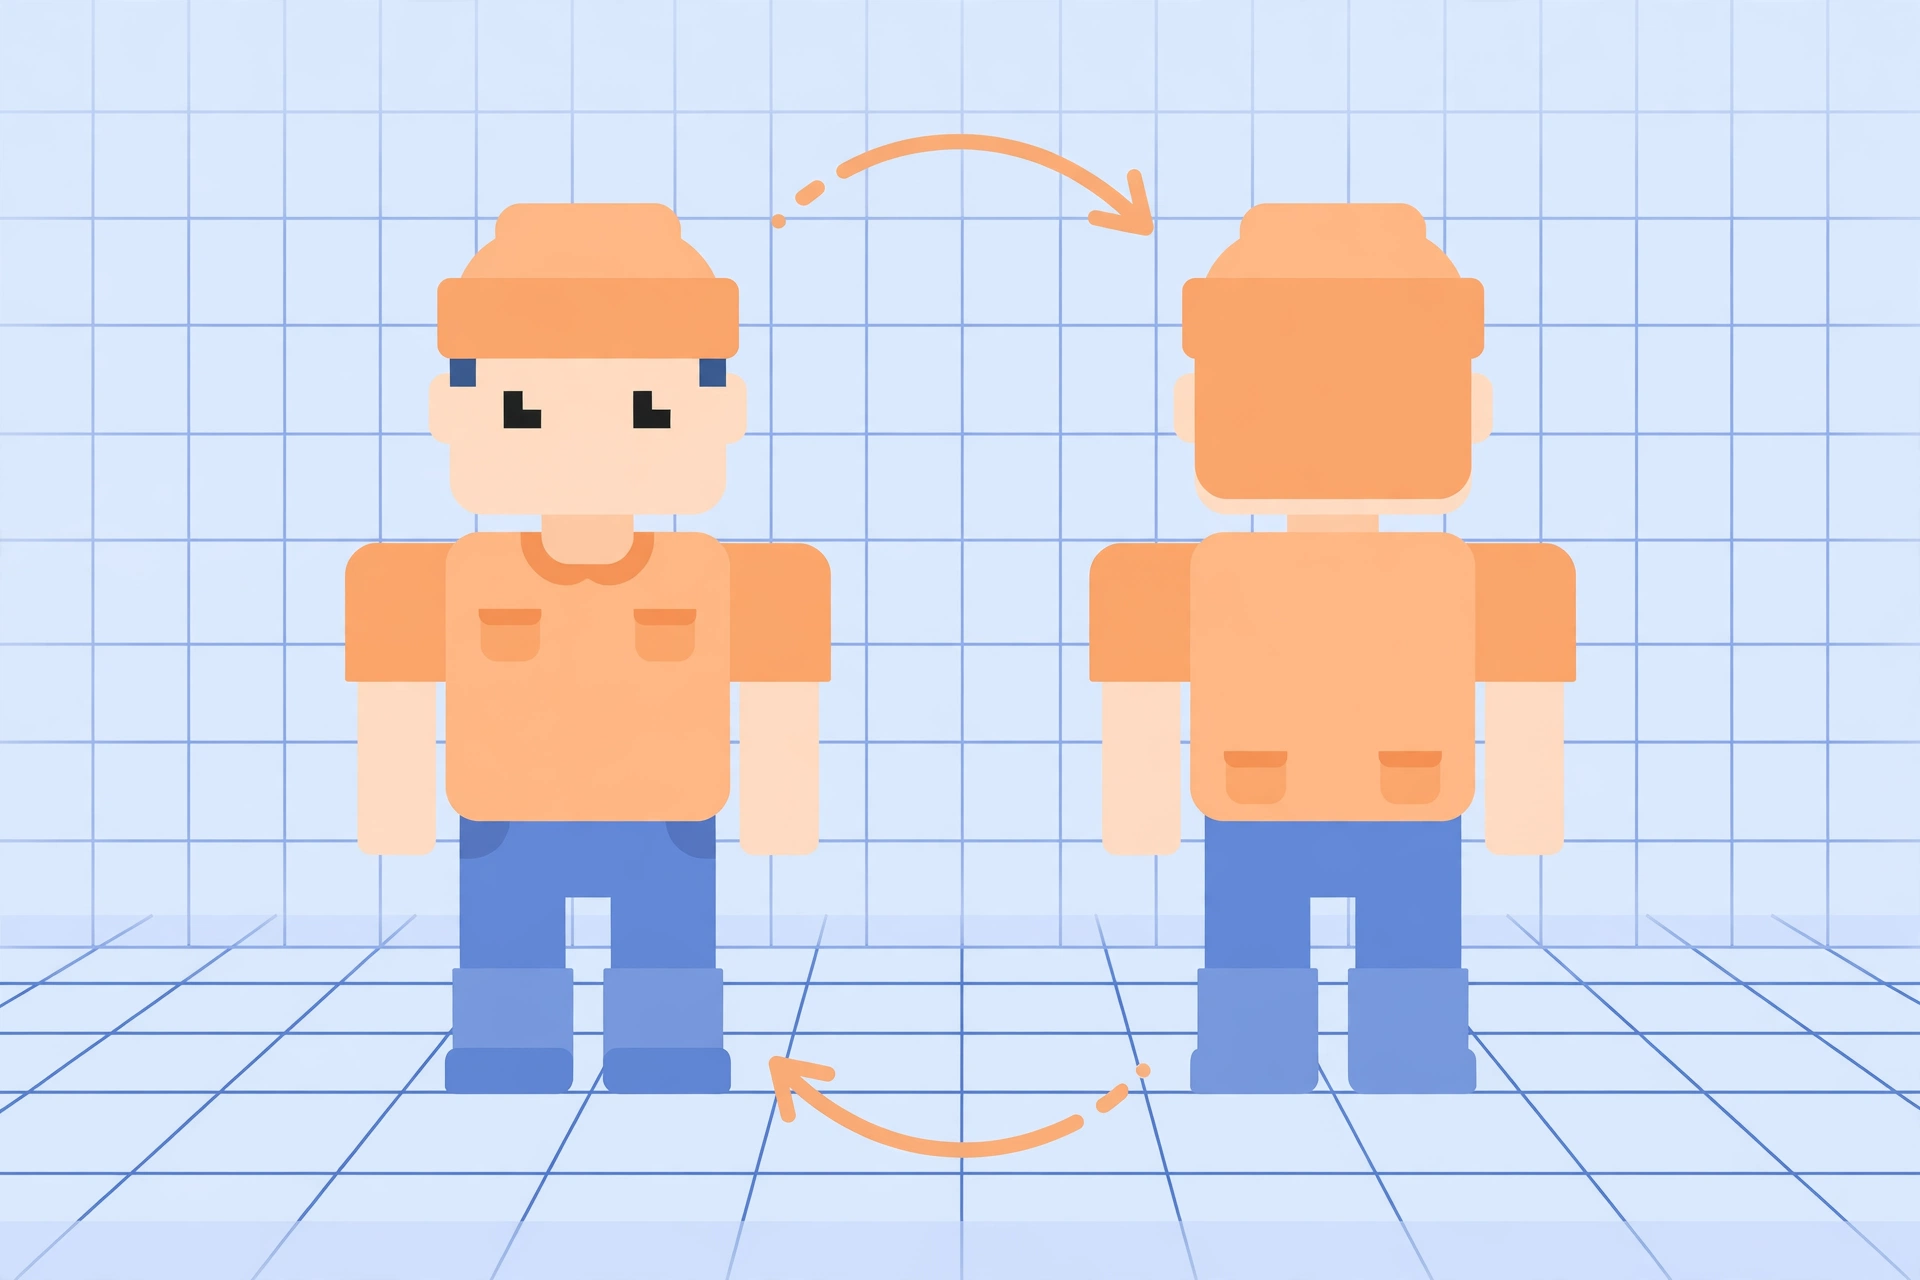
Testing costs nothing and catches almost every wrapping mistake, so never skip it. Open Roblox Studio and insert a block avatar rig (Avatar → Character in Studio). Then add a Shirt object to the rig and set its ShirtTemplate property to your image — upload the PNG as an image asset first through the Asset Manager, copy the asset ID it gives you, and paste it in as rbxassetid:// followed by the ID. Walk around the rig and check the front, back, sleeves and sides: artwork in the wrong panel shows up immediately, as does anything painted over the neck or hands.
Fix what you find in your image editor, re-export, and test again until the shirt looks right from every angle. Every minute spent here is worth it, because the upload fee is charged the moment you submit — testing in Studio is the only free way to see the result before paying. If Studio itself is new to you, our Studio beginner roadmap covers the interface and the first steps.
Step 5: Upload Through the Creator Dashboard
With the PNG tested, open the Creator Dashboard at create.roblox.com in your browser and go to Avatar Items → Classics. Choose Shirt as the asset type, upload your PNG, and add an accurate name and description — the name is what buyers search for, so describe the design plainly instead of stuffing it with keywords. Submit the item and the 80 Robux upload fee is charged at this step.
Roblox then moderates the item before it can be sold, checking it against the Marketplace policy. Wait for the result: the item cannot go on sale until it passes, and a rejection means the fee is gone, so read the reason, fix the design, and only then re-upload.
Step 6: Set a Price and Put It on Sale
Once the shirt passes moderation, go back to Avatar Items → Classics, open the item, and set your price. Publishing it for sale charges the 10 Robux publishing advance. A first shirt priced low is the honest way to learn what buyers will pay — Roblox shows a minimum price on the sales page, so start near it and raise the price later once you know the design sells.
After the sale, two things are worth doing. First, keep the original design file and the exported PNG — if moderation ever flags the item later, or you want a matching pants version, you will need them. Second, watch what actually sells: one design that earns a little teaches you more about what buyers want than ten uploads that earn nothing, and the next shirt takes half the time.
Why Uploads Get Rejected (and How to Avoid It)
Most failed uploads come from a short list. The first three are moderation rejections; the last two are mistakes that cost you the fee or the sale just as surely:
- Wrong dimensions. Anything other than exactly 585×559 pixels. Check the exported file's properties before uploading.
- Copied or branded artwork. Brand logos, characters and designs you did not create. Moderation catches these, and the fee is not refunded.
- Excessive text. A shirt covered in paragraphs of text reads as spam to moderation. Keep wording short.
- Flattened background. A solid white or coloured layer where the template should be transparent, which makes the shirt cover the neck and hands — buyers will not want it, even if it passes moderation.
- Wrong asset type. A square front-only design uploaded as a Shirt instead of a T-Shirt, or vice versa — it will not sell as intended. Match the design to the category.
If your upload is rejected, the rejection notice usually names the reason. Fix that one thing, re-test in Studio, and re-upload — do not just submit the same file again and pay the fee a second time for the same result.
Frequently Asked Questions
How much does it cost to make a shirt on Roblox?
Designing and testing are free. Uploading costs 80 Robux per submission, and putting it on sale adds a 10 Robux publishing advance — 90 Robux upfront in total, under the rules in force since July 2026. The upload fee is not refunded if moderation rejects the item, so test in Studio first.
Do I need Roblox Premium to sell a shirt?
To upload you need ID verification or a linked parent account with ID verification. To publish and keep the item on sale you also need 2-step verification and an active Plus or Premium subscription.
What size is the Roblox shirt template?
Exactly 585×559 pixels, as a PNG. The front and back torso panels are 128×128 pixels each.
Can I make a shirt on my phone?
Yes. Design in a phone editor such as IbisPaint X or Canva, export the PNG at exactly 585×559, then upload through the Creator Dashboard in a mobile browser — not in the Roblox player app.
What is the difference between a Shirt and a T-Shirt on Roblox?
A classic Shirt wraps artwork around the torso and arms using the 585×559 template. A T-Shirt is a single square image shown only on the front of the torso. If your design is a wraparound, upload it as a Shirt; if it is one flat front image, it belongs in the T-Shirt category.
How long does moderation take?
Roblox doesn't publish a fixed time — allow hours and check the item's status in the Creator Dashboard instead of re-uploading while you wait. The item cannot be sold until it passes, so wait for the result before setting a price.
Related Guides on RBXMods
- How to make a game pass on Roblox and sell it for Robux — the other creator monetisation path, for games instead of clothing.
- Robux, DevEx and marketplace tax explained — what Roblox keeps from each sale and how creators cash out.
- Roblox Studio explained: the complete beginner roadmap — the Studio basics you need for the free shirt test.
- How to make a game in Roblox — the full idea-to-published-game guide for creators who want to go further.
RBXMods is not affiliated with or endorsed by Roblox Corporation. Roblox and the Roblox logo are trademarks of Roblox Corporation.
Sources
- Roblox Creator Documentation: Classic clothing — the official template, upload requirements and moderation rules for shirts, pants and T-shirts.
- Roblox Creator Documentation: Roblox Studio setup — Studio, the free application used to test a shirt on a block avatar before uploading.
- Roblox Creator Documentation: Marketplace fees and commissions — what Roblox charges on Marketplace sales and what creators keep.